Monday 3 October 2011

My pasta filled weekend (as hinted at on friday)


Since I've got a shiny red enamel and chrome pasta maker which has remained untested (due to my own fear of failure, I'll admit), I decided that this lovely long-weekend was the time to get some tipo "00" on my clothes.

I used Jamie Oliver's recipe for Basic Egg Pasta because it, well, says it's basic in the name. The recipes calls for:
600g tipo "00" flour (which my pathetic local supermarket had in stock)
6 large free-range eggs or 12 egg yolks.

Convinced of my failure I used six whole eggs since I would have felt too guilty wasting twelve eggs. The key to the recipe is the amount of time you "rest" the dough in the fridge, the longer you let it rest, the easier it is to feed through the machine. One more thing, don't despair if the dough crumbles when you first feed it through the machine, try breaking it into two smaller sections, feed each through the machine individually (it doesn't matter if they break), then place on top of each other and feed through again.

My ball of dough, not quite silky-smooth like Jamie says it should be,
but I put it in the fridge and it worked fine.


The point at which I realised I should probably cut the sheet in half.

My first tagliatelle, and a rather crusty, dough-mixing hand.

The finished product! It was delicious,
next week I'll blog some recipes for tagliatelle (I sort-off promise).


Friday 30 September 2011

Mock-vintage (with lots of chrome) pasta maker!

My brand new, mock-vintage pasta maker!
This weekend will be spent testing this baby out. I already bought two packets of "00" flour, 6 eggs and squid ink...

Wednesday 21 September 2011

One of my book covers


My photography and design...and lots of blood, sweat and even the occasional tear.


Tuesday 20 September 2011

Zucchini and Scallion Fritters with Crème Fraîche

So on Sunday I ran in the Sydney Running Festival 9km bridge run (it was incredibly hot so I'm glad I wasn't ambitious enough to try the half-marathon), but since I'm used to running quite a bit further than this I got home still hyped on adrenaline. I couldn't sit still and decided to try a new recipe. It had to be easy and not require too many ingredients because I hadn't gone shopping. I settled on this recipe for Zucchini fritters which I've come across a few times on various blogs and in the weekend food section of several newspapers.

Ps I doubled this recipe and there still wasn't enough.


Zucchini and Scallion Fritters with Crème Fraîche

Adapted from one of my favourite blogs, Smitten Kitchen. The main difference is that I made mine gluten-free by using Orgran all-purpose gluten free flour.

Makes about 6 small fritters, I would advise doubling the recipe below

1 pound (about 2 medium) zucchini
1 teaspoon coarse sea salt, plus extra to taste
2 scallions (spring onions or green shallots), split lengthwise and sliced thin
1 large egg, lightly beaten
Freshly ground black pepper
1/2 cup plain gluten free flour
1/2 teaspoon baking powder
Olive or another oil of your choice, for frying


To serve (optional)
1 cup crème fraîche
1 to 2 tablespoons lemon juice
1/4 teaspoon lemon zest
Pinch of salt
1 small minced or crushed clove of garlic

Preheat oven to 200 degrees. Have a baking sheet ready.

Trim ends off zucchini and grate them either on the large holes of a box grater or, if you have one, using the shredding blade of a food processor.

In a large bowl, toss zucchini with 1 teaspoon coarse salt and set aside for 10 minutes. Wring out the zucchini in one of the following ways: pressing it against the holes of a colander with a wooden spoon to extract the water, squeezing out small handfuls at a time (which I did), or wrapping it up in a clean dishtowel or piece of cheese cloth and wringing away. You’ll be shocked by the amount of liquid you’ll lose, but this is a good thing as it will keep the fritters crispy.

Return deflated mass of zucchini shreds to bowl. Taste and if you think it could benefit from more salt (most rinses down the drain), add a little bit more. Stir in scallions, egg and some freshly ground black pepper. In a tiny dish, stir together flour and baking powder, then stir the mixture into the zucchini batter.

In a large heavy frying pan heat 2 tablespoons of oil over medium-high heat until simmering. Drop small bunches of the zucchini mixture onto the frying pan only a few at a time so they don’t become crowded and lightly nudge them flatter with the back of your spatula.

Cook the fritters over moderately high heat for about 3 to 4 minutes until golden. If you find this happening too quickly, reduce the heat to medium. Flip the fritters and fry them on the other side. Drain briefly on paper towels then transfer to baking sheet and then into the warm oven until needed.

For the topping, if using, stir together the crème fraîche, lemon juice, zest, salt and garlic and adjust the flavours to your taste. Dollop on each fritter before serving.

Just one more to tempt you!


Monday 12 September 2011

Classic Buttermilk Sponge Cake with Lemon and Lime Cream Cheese Icing


Ok, so this has taken me ages…not the baking, the translating! Let me explain. Last week I happened to mention that my kitchen was filled to the brim with lemons (that's an exaggeration, I'll admit, there were only about eleven of said lemons). I successful managed to use four to make lemon curd, and a few more for lemonade and various other snacks. Then my mother suggested her Classic Buttermilk Sponge Cake with Lemon-Cream Cheese Icing. Yum! How could I resist? The fact is, "her" cake was derived from a recipe published in the Afrikaans magazine Sarie on 8 March 2000 (I know this because she has the magazine clipping) and since she hadn't actually re-written the recipe, but only added pen corrections, some of which I didn't understand leaving me to mix my lemon rind into the icing instead of sprinkling it on top as she does, meant I had the task of translating it.
Ps I'm enjoying a slice as I'm writing this and it's delicious.

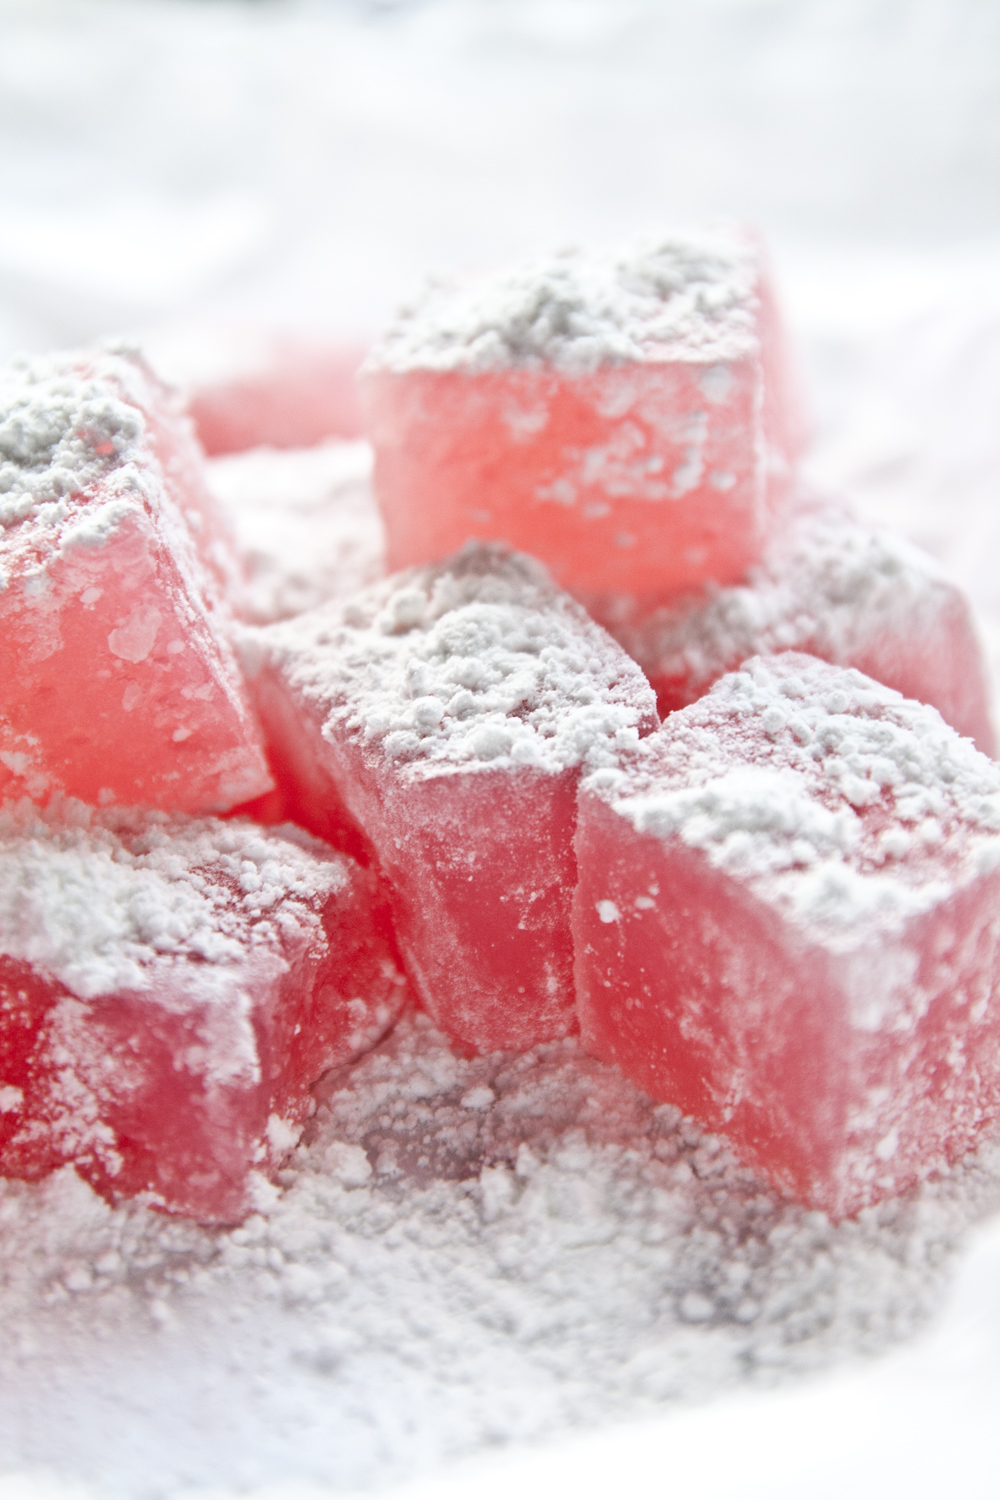
Before adding the lemon zest...


Classic Buttermilk Sponge Cake with Lemon and Lime Cream Cheese Icing

Serves 8 (or makes 24 cupcakes, bake for only 20 minutes)

Cake
250g plain/pastry flour
7.5ml baking powder
2.5ml bicarbonate of soda
1ml salt
3 eggs, room temperature
230ml buttermilk, room temperature
5ml vanilla paste or the seeds from 1 vanilla bean
150g unsalted butter, room temperature
300g superfine/caster sugar

Icing
rind from 2 lemons
rind from 1 lime
250g cream cheese, room temperature
100g unsalted butter, room temperature
5ml vanilla paste or the seeds from 1 vanilla bean
500g icing sugar
extra lemon and lime rind for decoration

Preheat the coven at 180°C. Prepare two small cake tins (no more than 20cm in diameter) by buttering the inside and then lining the base with baking paper.

Sieve together the flour, baking powder, bicarbonate of soda, and salt.

Beat the eggs lightly until the whites and yolks have mixed. In a separate container combine the vanilla and buttermilk.

Using an electric mixer, cream the butter in a large bowl. Add the caster sugar and beat until light in colour and creamy. Add the eggs, one tablespoon at a time, mixing thoroughly between each addition.

In turn, fold in a quarter of the dry ingredients and a third of the buttermilk mixture into the creamed butter until all the ingredients have been combined. Pour the mixture into the prepared cake tins.

Bake for 30 minutes (or until the sides have started coming away from the tin and the bounces back when it is lightly pressed).

Remove from the oven and allow to cool for 5 minutes before removing from tin and placing on a cooling rack. Remove the baking paper while still warm to prevent it sticking. Allow to cool completely before icing.

Icing
Using an electric mixer, cream butter, lemon and lime zest, cream cheese and vanilla until light and fluffy. Slowly add the the icing sugar until combined.

Cover the top of one cake with icing, place second cake on top and decorate with remaining icing. Finally sprinkle with extra lemon and lime zest.


Monday 5 September 2011

Lemon Curd Tartlets

Lemons are in season!!! I know this because after grabbing a couple of lemons on a quick shopping trip on Wednesday, I came home to find that there were a further nine in the fruit bowl. This lemon hoarding is a new phenomenon, which started soon after I moved to Sydney. After years in Africa with a lemon tree in every garden of every house I've ever lived in, I moved to a city where the cockatoos love lemons even more than I do and subsequently, this time, there are no lemon trees for me to harvest.
     What to do about suddenly owning 11 lemons? Make lemon curd!


Lemon curd on toast. The butter has set and it's amazingly creamy.

For the pastry you can take a short-cut by using high-quality store bought rough puff pastry, or if you're a purist, The British Larder has an excellent recipe for rough puff pastry.

Ingredients

Pastry
250g rough puff pastry, store bough or fresh.

Filling
Juice and zest of 4 small lemons
3 large, free-range eggs
1 egg yolk
125g caster sugar (very fine sugar)
125g cold, unsalted butter, cut small squares

Method

Pastry: Preheat the oven to 180°C, grease 10 mini tart pans. Roll the pastry out to between 2 and 3mm thick, and cut into 10cm diameter discs. Place a disc in each pan and press the pastry into the pan. 
     Cover with baking paper, fill with pie weights (or rice if you don't have pie weights). Bake for 18 minutes. Remove the baking paper and pie weights and bake for a further 2 minutes. 
     Remove the pastry shells from the pan and allow to cool on a wire rack. 

Filling: Chose a sauce pan and large metal mixing bowl which fit together well (without the mixing bowl falling into the sauce pan). Bring water to a simmer in the sauce pan.
     Whisk the eggs and sugar together in the mixing bowl with a balloon whisk. Add the lemon juice.
     Place the mixing bowl over the simmering water and gently stir the mixture with a spoon until it thickens.
     Once the mixture has thickened remove it from the heat, add the butter and mix until all the butter has melted and the mixture becomes glossy.

Fill each pastry shell with the lemon curd.
     Pour the remaining curd into a clean jar and allow to cool in the fridge. Lemon curd on toast is amazing.

Monday 22 August 2011

White Chocolate and Coconut Truffles (with lemon and macadamia)

Having a chocolatier for a father meant that by the age of nine I was a deft hand at the art of truffle making. The classic truffle is consists of chocolate ganache worked into a ball and coated in cocoa powder (it resembles the black truffle fungus, hence the name). Below is the recipe for one of my favourite truffles (admittedly my father refuses to acknowledge it as a true truffle, because it doesn't use cream, nor does it use real chocolate in his opinion):


Makes approx. 20

Ingredients

125ml coconut milk
400g Lindt white chocolate
zest of one lemon
100g macadamia nuts
150g desiccated coconut

Method

1. Heat water in a large pot on the stove. Place the coconut milk and white chocolate into a large glass/stainless steel bowl.  2. Place this over the pot with the hot, not boiling, water. Stir the chocolate until it has melted and formed a smooth mixture. Allow to cool. 
3. Add the lemon zest and a few drops of lemon juice to taste.
4. Refrigerate the mixture for 30-60 minutes. Once the mixture is firm to touch and workable it is ready to be rolled.
5. Roll one macadamia into the center of the truffle, form a ball and then roll the truffle in the desiccated coconut. 
6. Return to the fridge for another hour.

Note: Never melt your chocolate in a microwave, the risk of burning it is much too high. Rather use the technique of a glass bowl over some hot water, but make sure that the water isn't boiling and that NO water comes in contact with the chocolate. Boiling water causes steam which then condenses into water droplets. One drop will ruin melting chocolate (although chocolate can safely be melted in water, one drop will cause the cocoa solids and fats to separate and the chocolate to tighten)

Saturday 23 July 2011

You are lovely

I've been a bit quite here over the past few weeks, the majority of my work has been for publications and  to be kept under wraps until the real thing is out there (no sneak peeks on that front I'm afraid). Apart from the official things I've also been doodling away at an idea for a children's picture book of my own. Very exciting indeed, but also very secret (for now).

So what I've blogged today are some test shots for a shoot based on the theme of red and white titled: You are Lovely. I hope you like them!


Sunday 17 July 2011

A sneak peek...

Here's a sneak peek at some illustrations I've been working on. So far I've managed 24 illustrations in 21 days! Have a look at my portfolio for a few more illos from this project.


Sunday 3 July 2011

Pink Rosewater Turkish Delight


Over the past year I've noticed that the recipes that truly intrigue me are the ones I simply don't believe, like marshmallows and choux pastry. These recipes have a little bit of added magic (well, science really but that doesn't seem as special). One of these recipes was the one for Turkish Delight and although I seem to be the only person who didn't know this (especially when talking to my colleagues...well, they are food editors, so I might be excused), the traditional recipe calls for only cornstarch to make it set.

So my Sunday morning was spent testing this silly, although proven, theory. I adapted the simple, traditional recipe. Once they had set and were diced into tiny pink jewels I became so attached to them that I'm adding them to my wedding plans, they will now form a crucial part of the bombinaires...not this batch, since it's been handed around already.

Ingredients

4 cups white sugar
4.5 cups water
1 tbsp lemon juice
1.25 cups cornstarch
1 tsp cream of tartar
1.5 tbsp rosewater
2-3 drops rose food colouring
1 cup powdered sugar
Method

1. Prepare a 20cm x 20cm pan by lining it with baking paper and greasing with butter. Set aside for now.
2. Place the sugar, lemon juice, and 1.5 cups of the water in a medium saucepan over medium heat and bring the mixture to a boil (do not stir). Brush down the sides of the pan with a wet pastry brush to prevent sugar crystals from forming, and use a candy thermometer.
3. Allow the sugar mixture to continue boiling, without stirring, until it reaches 240°F F/115°C on the candy thermometer.
4. When the sugar syrup is around 100°C degrees place the remaining 2.5 cups of water in another, slightly larger, saucepan. Add the cornstarch and cream of tartar and whisk until the starch dissolves and there are no lumps. Place the saucepan over medium heat and bring the mixture to a boil, stirring or whisking constantly. When the mixture takes on the consistency of glue it is ready.
5. Once the sugar syrup is at 115°C, remove it from the heat. Slowly, carefully, pour it into the cornstarch mixture, whisking until it is fully incorporated.
6. Reduce the heat to low and simmer, whisking it every 8-10 minutes, for about an hour, until the mixture has turned a light golden-yellow color and is very thick and gluey.
7. After an hour, remove from the heat and stir in the food coloring and the rosewater. Pour the mixture into the prepared pan and allow it to set, uncovered, overnight (I put it in the fridge for 4 hours as a cheat).
8. The next day, dust your work station with a mixture of powdered sugar and cornstarch, remove the Turkish Delight from the pan. Remove the baking paper and dust the top with the sugar mixture. Use an oiled chef’s knife to cut the Turkish Delight into small squares. Dust each side of the square with the sugar mixture to prevent stickiness.

Turkish Delight is best soon after it is made. It doesn’t keep very well, but if you want to try keeping it, store it in an airtight container with waxed paper between the layers, and dust the sides with powdered sugar again before serving.

Sunday 26 June 2011

Saturday 25 June 2011

A stitch in time...

I had an amazing morning sourcing the bits and pieces for this shoot. Thanks Emma!


Wednesday 22 June 2011

Melk Tert (milk tart)

Growing up this was my favourite food. Not my favourite dessert, my favourite food. I loved the inherent comfort of the cinnamon and creamy filling (it reminded me of being wrapped up in front of a fire in desolate farmhouses during cold winters snow-hunting in the Drakenberg Mountains in South Africa). I think I might bake one this weekend to celebrate a Sydney winter.


SHELL
125g butter
100g sugar
1 egg, beaten
275g cake flour
10ml baking powder
salt

1. Grease 2 tart tins. Preheat the oven 180C
2. Combine butter, sugar and egg.
3. Sieve the dry ingredients and mix into the butter, sugar and egg mixture.
4. Press thinly into the tart tin (it is essential to make this very thin)
5. Bake for 15-20min or until golden brown.

FILLING
1l + 125ml milk
80g butter
200g white sugar
2ml salt
60ml cake flour
60ml cornflour
4 eggs, separated
5ml vanilla essence/1 vanilla pod
Cinnamon

1. Combine the milk, butter, sugar and salt in a large saucepan, and bring to a boil.
2. Mix the flour and cornflour together with the 125ml cold milk until it forms a smooth paste.
3. Beat the egg yolks and add to the paste.
4. Add a little bit of the hot milk mixture to the paste and mix well. Add to the hot milk mixture in the sauce pan and stir well.
5. Continue stirring the mixture over a medium heat until cooked.
6. Remove from heat and add the vanilla essence.
7. Beat the egg whites until they form soft peaks and fold into the milk mixture.
8. Spoon the mixture into the shell and sprinkle with cinnamon.
9. Bake for a further 20mins.

Monday 20 June 2011

Caramelised Leek tartlets with a Sour Cream Crust

I baked these over the weekend as a favour to my mother. Although they're delicious, creating your own pastry takes some time so make sure you're not in a hurry.


Ingredients
Sour Cream Pastry
1 1/2 cups plain flour
120g chilled butter
5 tbsp Sour cream
1 1/2 eggs
pinch of salt

Caramelised Leek Filling
1 large leek
40g butter
1 garlic clove, finely chopped
1/2 tsp sea salt
3 tbsp dry white wine
3 tbsp vegetable stock
freshly ground black pepper
2 eggs
1 egg yolk
3 tbsp cream
1/2 cup soft goats cheese, roughly crumbled

Method

1. For the pastry, rub butter into the flour until the mixture resembles fine bread crumbs, add sour cream, salt and eggs. Mixture should create a firm ball, if not add more flour (or sour cream if it is too dry). Divide into 6 balls and allow to rest in the fridge for 30 mins. Roll each ball to 3mm  thick then gently press into prepared tart cases. Prick the bases with a fork and rest in the fridge for a further 30 mins. Trim any excess from the edges, cover with  grease proof paper. Fill with rice and blind bake for 10 mins.

2. For the filling, cut leeks in half lengthways and wash. Finely slice into half moons. Heat butter in a frying pan over a medium heat. Add the sliced leek, garlic and salt. Cook for 10 mins, until tender and golden. Add the wine and simmer for 2 mins. Add the stock and simmer for another 2 mins. Add pepper, remove from heat and allow to cool completely. Whisk eggs, yolk and cream in a separate bowl, add the leeks.

3. Evenly spoon the mixture into each baked pie case, scatter the goat's cheese over and bake for 20mins.

Thursday 16 June 2011

Coconut Sorbet


Coconut Sorbet

I love coconut, absolutely adore it. This slight obsession I've developed springs from my Uni days when my roommate and I would get in the car and drive all the way to a secluded farmer's stall amongst the vineyards for some crystallised coconut pieces. Light and refreshing, this is possibly the easiest and cheapest dessert in existence, and it's absolutely delicious. You don't even need an ice cream maker.

1 cup water
1 cup caster sugar
400ml Coconut milk

Combine the sugar and water in a small sauce pan, over a low to medium heat. Stir until all the sugar has dissolved.

Add the coconut milk and transfer to a plastic container and place in the freezer.

Stir the sorbet once during the first and second hours in the freezer to ensure an even texture.

Enjoy.

Wednesday 15 June 2011

Cheat's Chocolate Fondant


Cheat's Chocolate Fondant

This delicious chocolate pud has a naughty secret: it's gooey center is guaranteed! Using a trick I learned from What Katie Ate I've created these decadent desserts.
Serves 6

140gms softened butter
250gms caster sugar
2 eggs
300gms (2 cups) plain/pastry flour
60gms cocoa
250ml milk
1 small tub of Nutella
15ml medium dry sherry
5ml baking powder

Preheat the oven to 170C. Beat the butter and sugar until pale and creamy, add the eggs. Beat to combine. Sift over dry ingredients and mix to combine. Stir in milk and sherry.

Lightly butter 6 ramekins. Spoon one large tbsp of batter into each of the ramekins, add a tbsp of Nutella to the center of each and spoon over the rest of the batter.

Bake for approx. 12-15 minutes (until the tops crack and a skewer comes out of the pudding clean. Remember the Nutella center and avoid it with the skewer).

Serve warm with vanilla ice-cream.